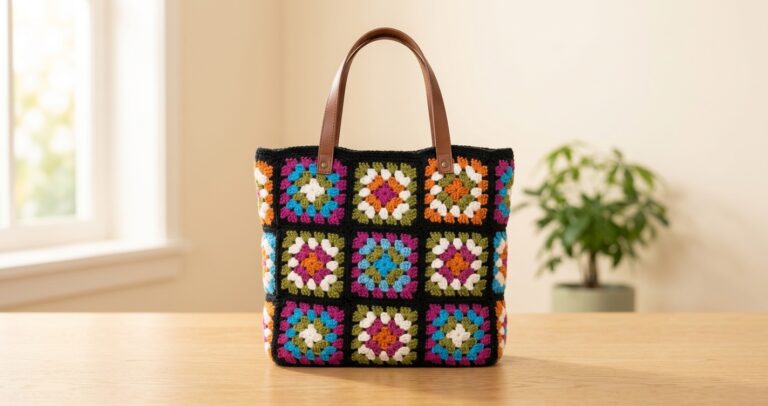
How to Crochet an Easy Mesh Tote Bag for Farmers Markets and Beach Days

Every summer, there’s one project that earns a permanent spot by the front door: the crochet mesh tote bag. It’s light, it stretches to hold way more than you’d expect, and it works just as well for a haul of fresh produce as it does for towels and sunscreen at the beach. Best of all, it uses a single, simple stitch pattern and about 150 grams of cotton yarn.
In this guide, I’ll walk you through the big-picture steps of this mesh bag, based on the clear, step-by-step video tutorial by crochet daniela. Watch the video alongside this post so you can see every stitch in action.
A quick note: This post is a companion to a free video tutorial. It is not a full written pattern, so follow the video for the exact stitch-by-stitch instructions.
What You’ll Need for Your Crochet Mesh Bag
This is a very approachable materials list:
- Yarn: about 150 grams of 100% cotton, weight 4 (worsted weight). Cotton is a smart choice for a market bag because it’s sturdy and holds its shape.
- Hook: 5 mm crochet hook
- Stitch markers: four (optional, but they make the strap step much easier)
- Tapestry or darning needle for weaving in ends
- Scissors
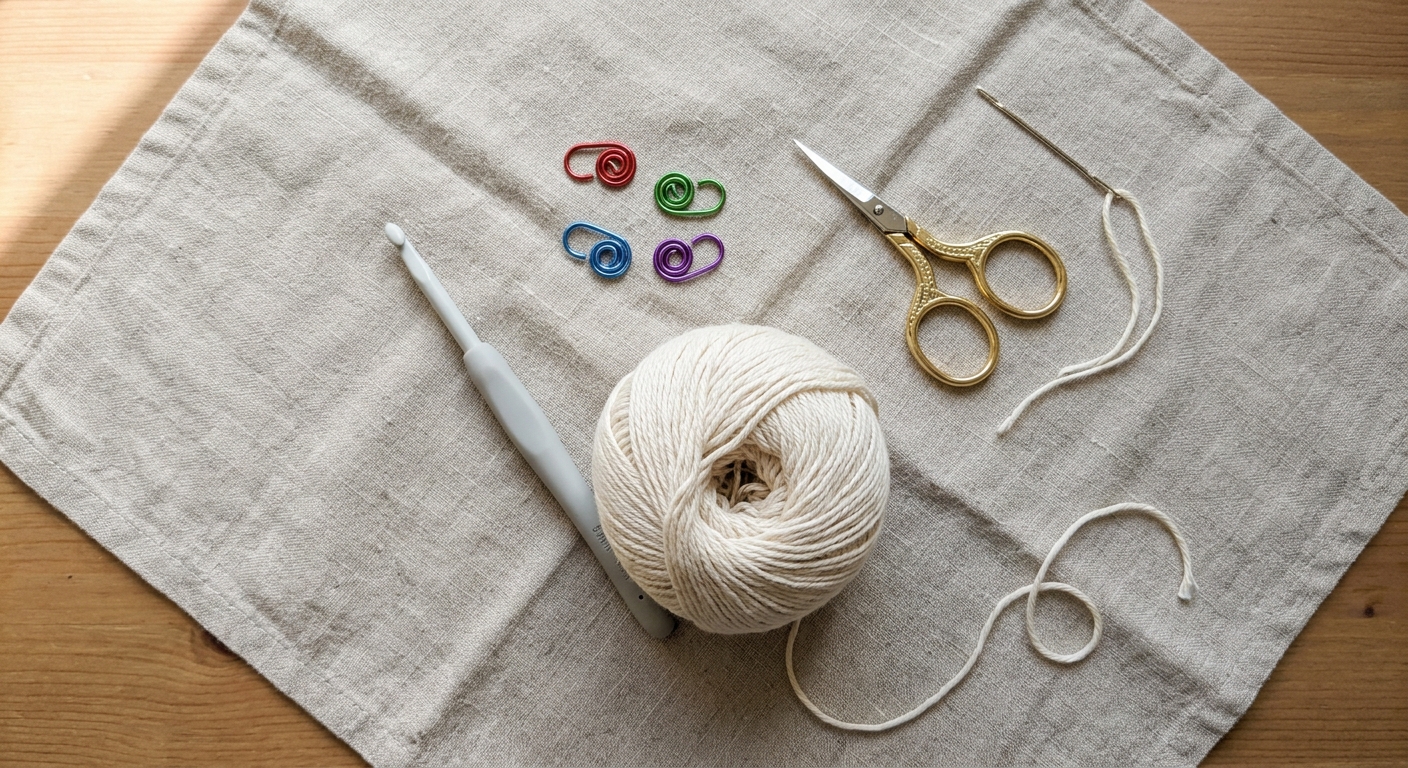
The video doesn’t specify yardage or a particular yarn brand or color, so feel free to choose a cotton you love. Just look for a weight 4 option.
The Only Stitches You Need
This bag is built from a handful of basics:
- Chain (ch)
- Slip stitch (sl st)
- Double crochet (dc)
- Single crochet (sc)
If you’re comfortable with these, you’re ready. The video guides you step by step, which makes it a friendly project if you’re still building confidence with mesh stitch.
Step 1: Start With the Foundation Chain
Make a slip knot, then chain 56. Next, work into the back bars of the chain: skip 5 back bars and place 1 double crochet in the 6th back bar. From there, work the mesh pattern across, which is chain 1, skip 1 back bar, double crochet in the next.
When you reach the end, you should have 26 holes on your first row. This foundation piece becomes the base of your tote.
Step 2: Work the Body in Mesh Rounds
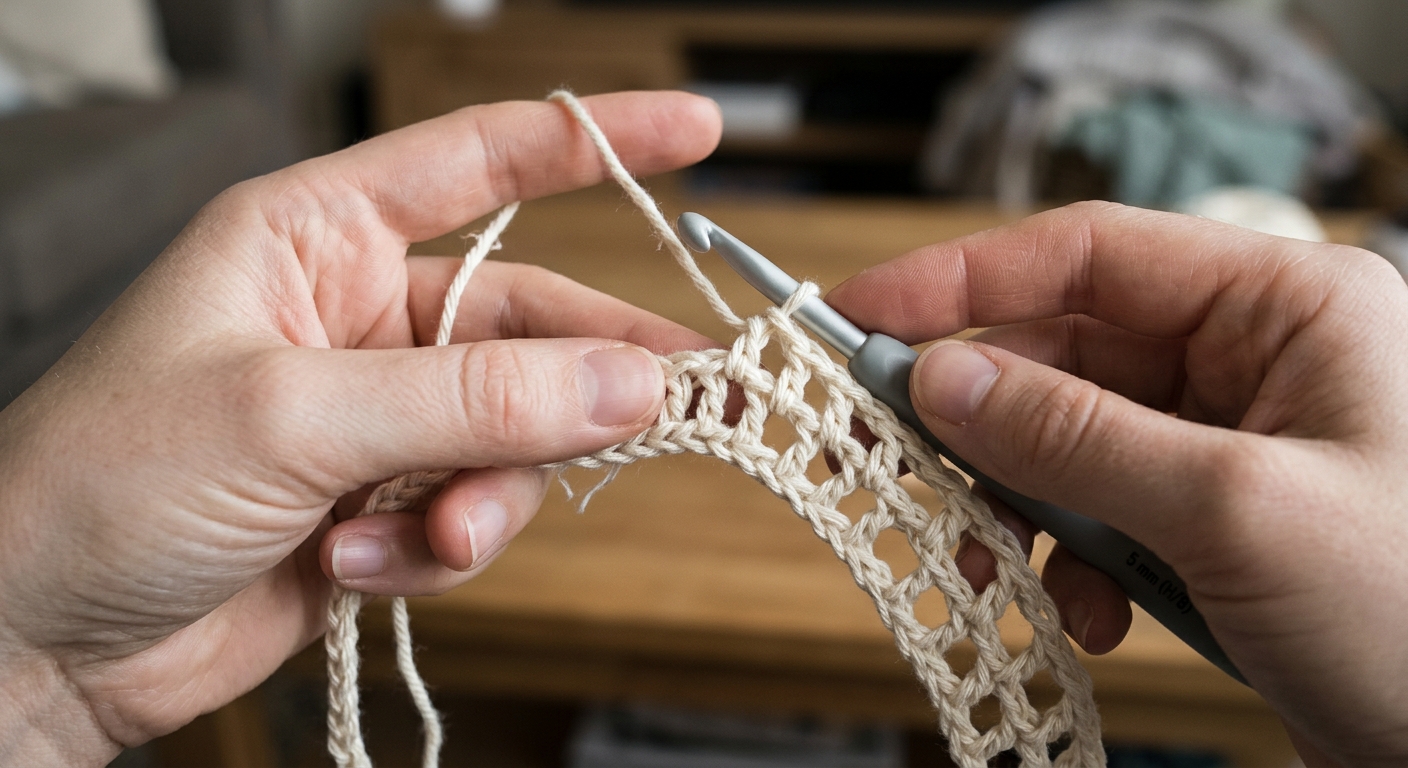
Now the bag starts to take shape. You’ll transition to working in rounds around the foundation piece. Each round begins with a chain 1, then you work double crochets and chain-1 spaces (the mesh stitch) and join with a slip stitch.
In the video, the creator works 18 rounds in total. The finished body measures roughly 13 inches by 9.5 inches, a nice size for everyday errands.
This is the longest stretch of the project, but it’s also the most relaxing. Once the pattern clicks, it’s perfect for watching a show or chatting with a friend.
Step 3: Map Out Your Strap Placement
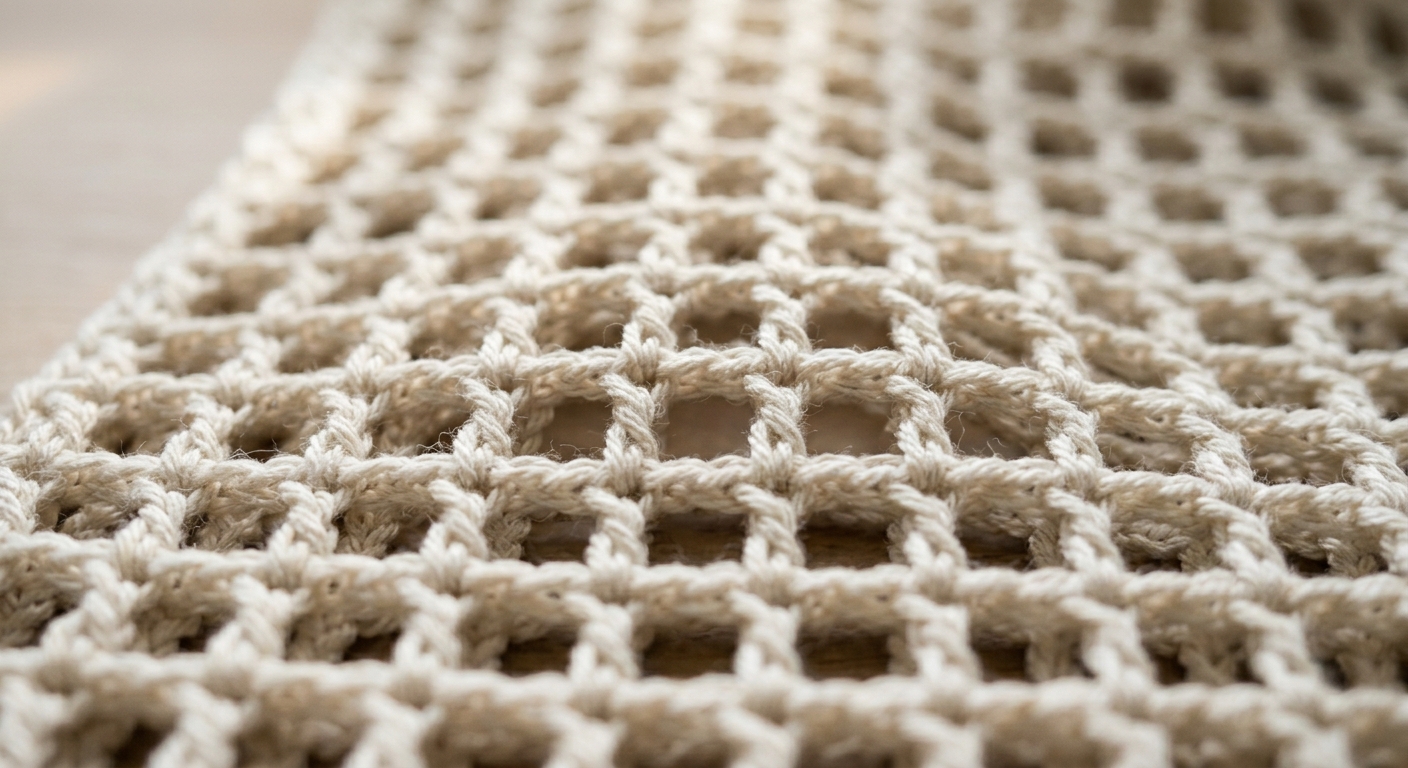
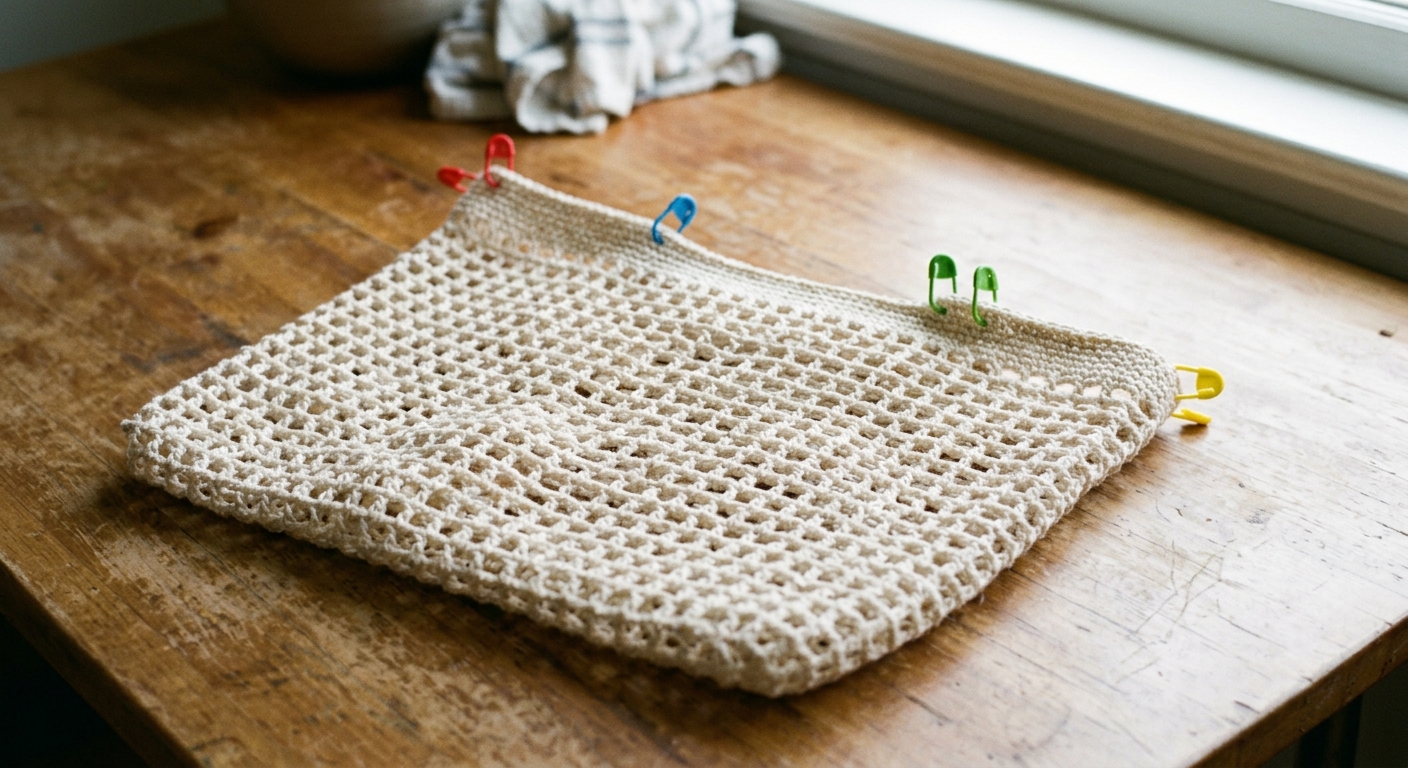
This is where stitch markers earn their keep. Lay your bag flat so the stitches line up neatly. You’ll count 27 holes on each side, for 54 holes around the final round.
Then place your markers 8 holes in from the edges on both the front and back. That leaves 16 holes between the markers on each side, which marks out where each strap will go.
Taking a minute to place markers carefully helps your straps line up on both sides of the bag.
Step 4: Shape the Straps
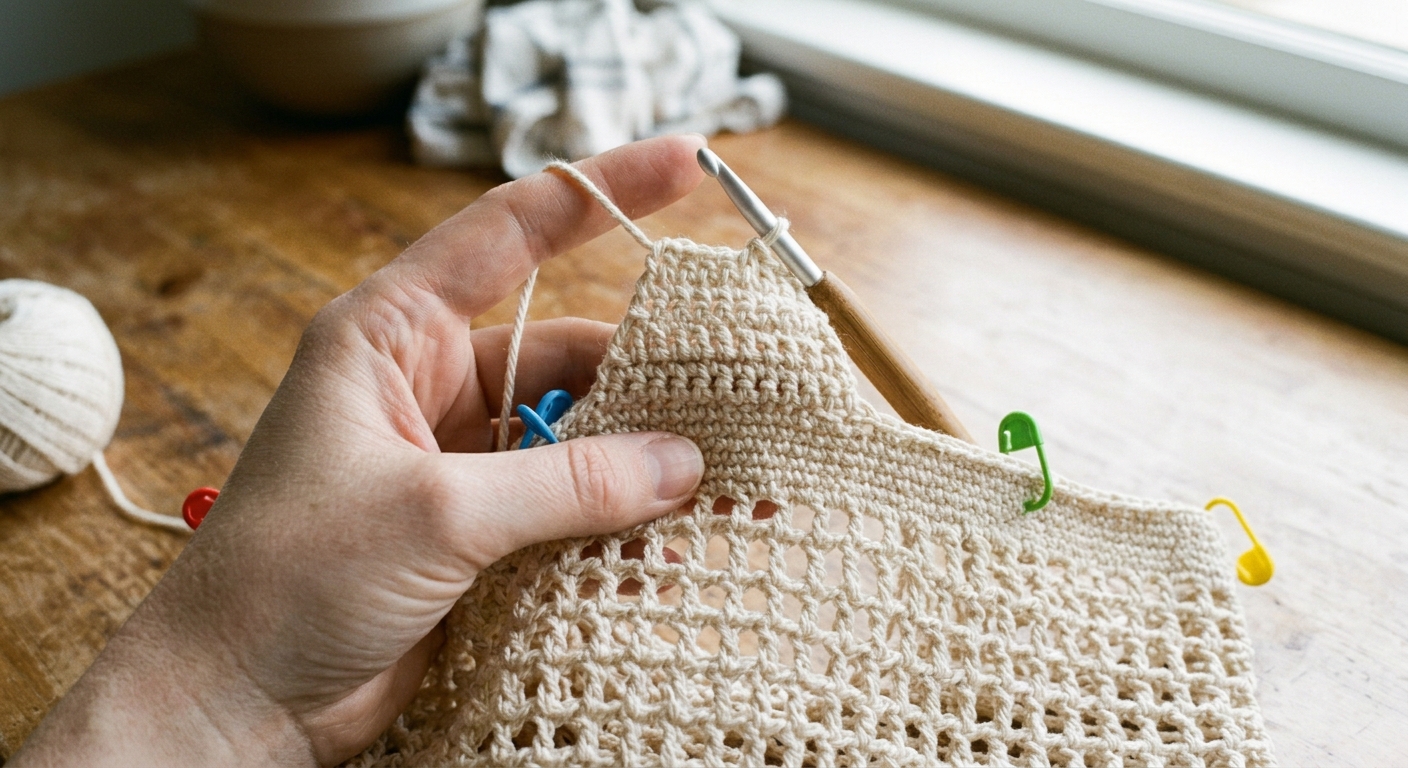
Join your yarn at a stitch marker, chain 4, and work the mesh stitch across to the next marker. Then turn your work and begin shaping:
- Rows 2 through 8: slip stitches at the start of the row and decrease across, which narrows the strap.
- Rows 9 through 15: work straight rows to complete a 15-row strap.
Repeat for the second strap. If you want a cleaner look, insert your hook directly into the chain during strap shaping. If that feels fiddly, working into the chain-1 space is an easier alternative.
Step 5: Join the Straps and Add Optional Edging
Sew the tops of the straps together using the leftover yarn tail, stitching through both front and back loops for a sturdy seam.
For a neater finish, you can add a single crochet border around the strap edges, working two single crochets into each mesh hole. Then weave in all your ends with a darning needle, and your tote is done.
Quick Tips for Beginners
- Use stitch markers when mapping out the straps so both sides match.
- Lay the bag flat before counting holes to keep your stitches aligned.
- Don’t skip the edging if you’d like softer, more polished straps, but know that it’s optional.
Where to Find Each Step in the Video
Use these timestamps to jump to the part you need:
- 00:37 – Slip knot and foundation chain (56 chains)
- 01:29 – Working into the back bars for Row 1
- 03:36 – Starting the body rounds
- 13:30 – Finishing the body and measuring
- 13:58 – Placing stitch markers for the straps
- 16:03 – Starting the straps and decrease rows (Rows 1–8)
- 22:14 – Straight rows for the straps (Rows 9–15)
- 24:37 – Sewing the strap tops together
- 27:21 – Optional single crochet borders
Ready to Make Your Own?
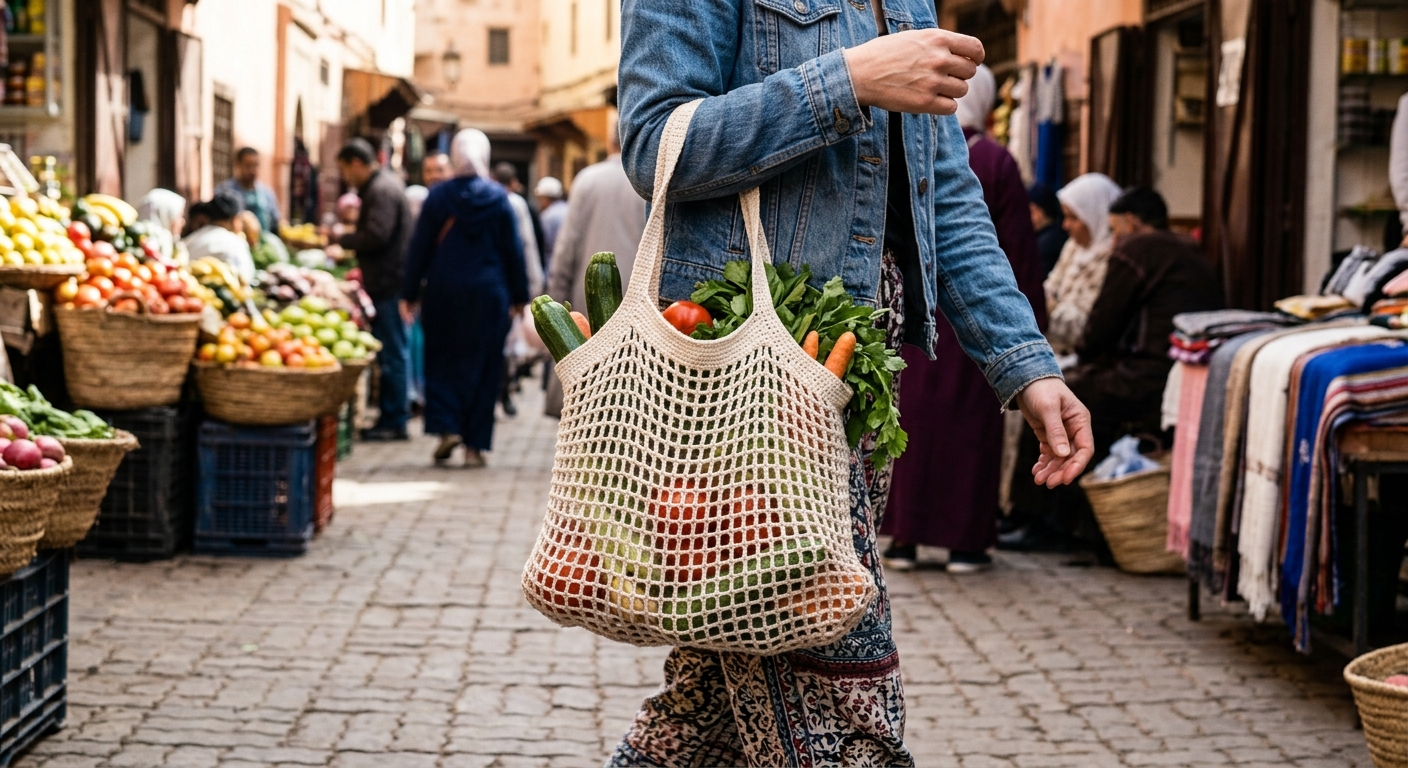
A handmade mesh tote is one of those projects that’s as useful as it is satisfying. Grab your cotton yarn and 5 mm hook.
When you finish yours, I’d love to see it. Share a photo and tell me which colors you chose. And if you’re hunting for your next make, browse our other crochet tutorials for more easy, beginner-friendly projects.