Easy Crochet Wrist Warmers for Beginners (Video Tutorial)
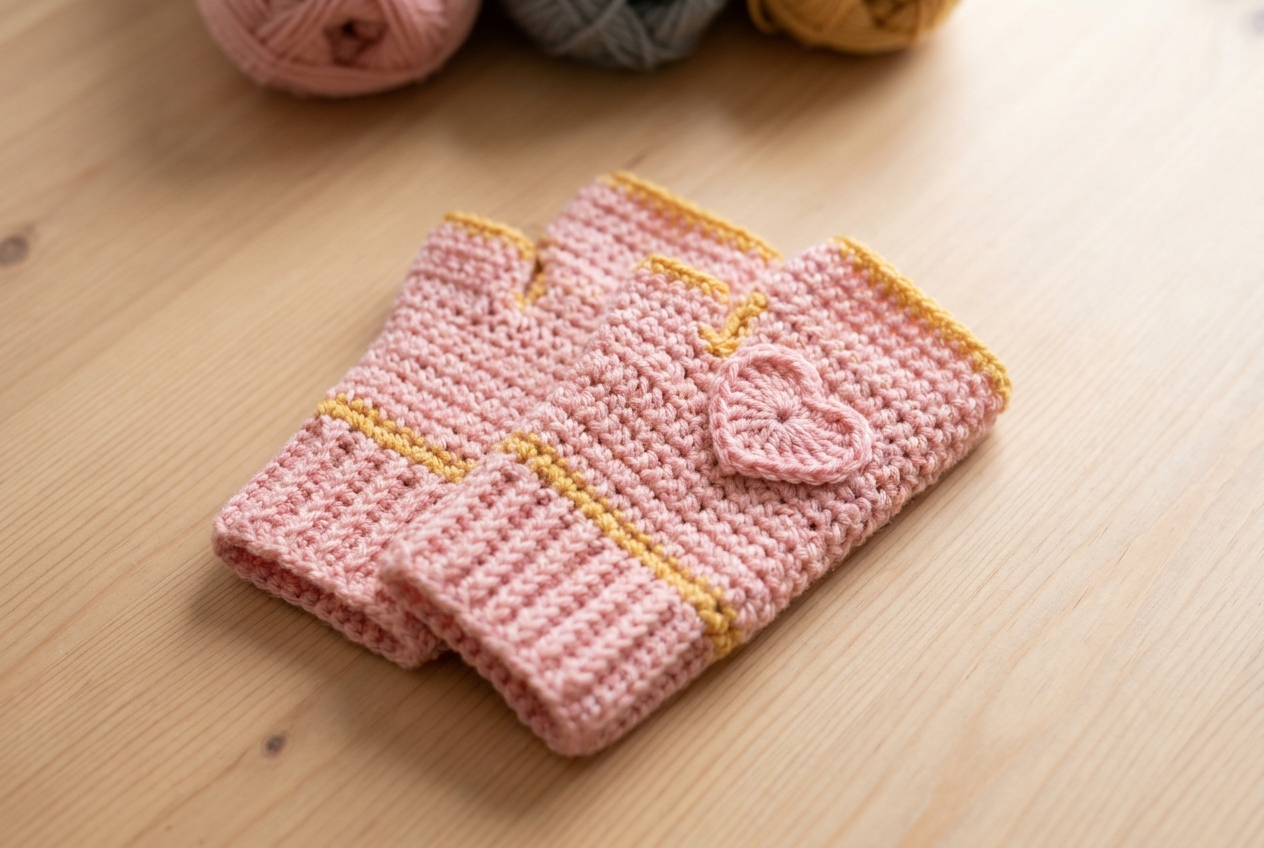
Wrist warmers are a friendly first wearable project. You only need a handful of basic stitches, and there is no finger shaping to puzzle over. These easy crochet wrist warmers, shown in a video by ElyseCrochets, start with a ribbed cuff, grow into a hand section worked in the round, and finish with a thumb hole and optional sewn-on details such as a star, heart, or bow.
This post is a guide to how the project comes together, with the materials, stitches, and tips from the video. It is an overview rather than a full written pattern, so the original video is where you will see each step demonstrated.
What You’ll Be Making
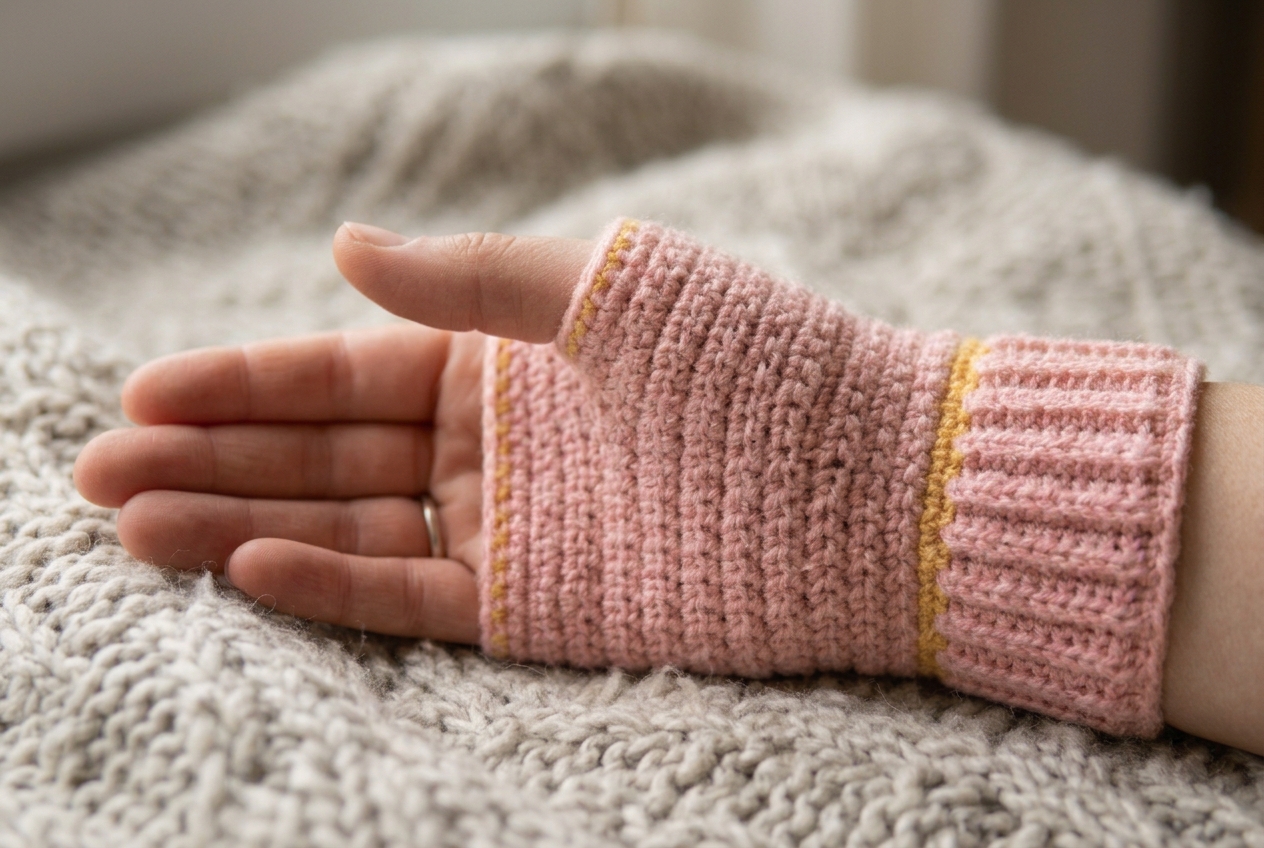
The finished wrist warmers have a ribbed cuff at the wrist end and a thumb hole higher up. They are worked from the bottom up. The cuff is made flat first, joined into a loop, and the hand section is then worked in rounds directly on top of it.
The color plan is up to you. The creator describes the project as customizable, so you can use a single color or as many as you like. The wrist warmers are not right- or left-hand specific, so you will not need to keep track of a “pair” of mirrored pieces. They suit everyday wear in cooler weather and could also make a handmade gift.
The video does not give finished measurements. Size is controlled by the length of your starting chain and the number of cuff rows, which makes the project easy to adjust.
Materials and Tools
Here is what the video uses:
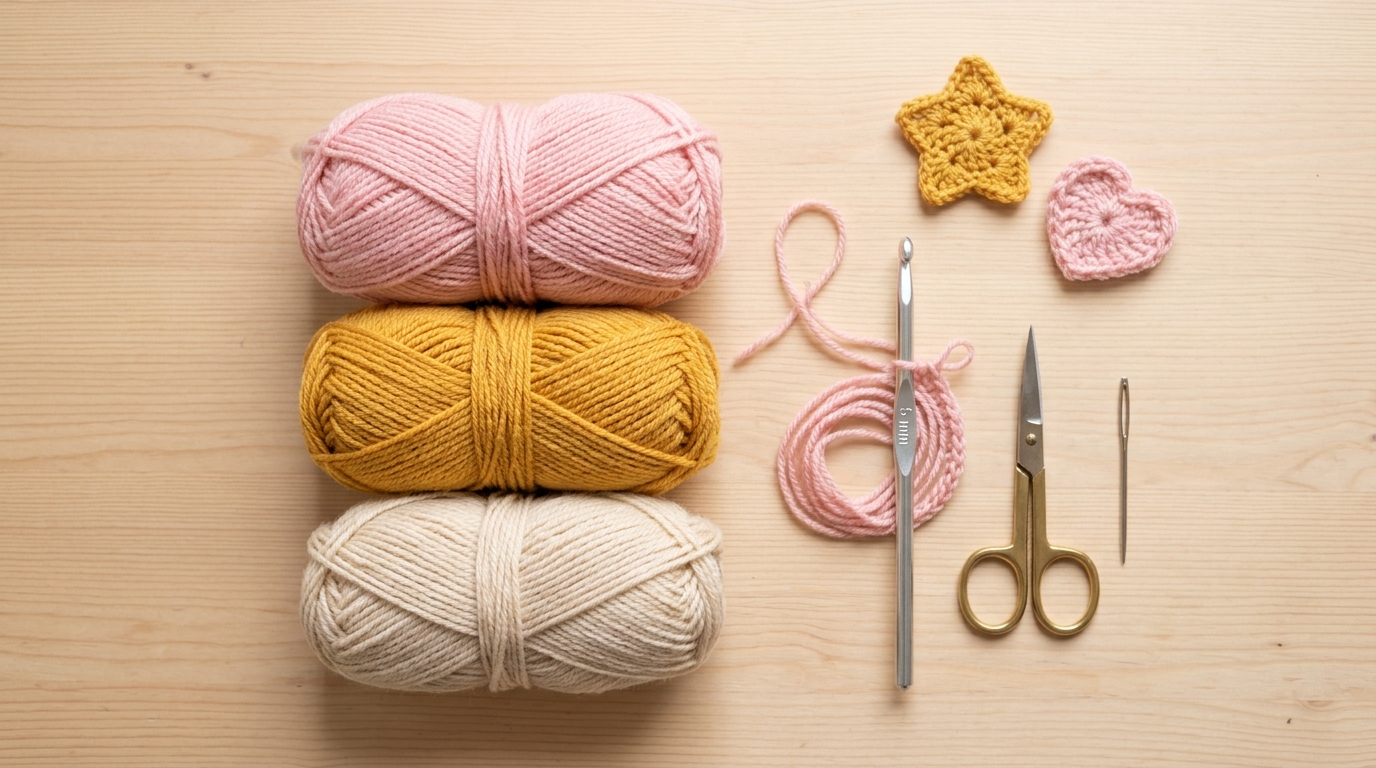
- Worsted weight (4) acrylic yarn, in as many or as few colors as you like
- 5 mm crochet hook
- Scissors
- Tapestry needle
- Optional: yarn and patterns for appliques (star, heart, or bow)
Yarn yardage, brand, and colorway are not specified in the video. As a general suggestion, keep a little extra yarn on hand, especially if you plan to add a contrasting border or appliques.
Stitches and Abbreviations
This project uses only a few stitches. These are US crochet terms:
- Chain (ch): the foundation stitch used to start the cuff and make the thumb space.
- Slip stitch (sl st): a very short stitch used to join rounds and seams.
- Single crochet (sc): the main stitch for the ribbed cuff.
- Half double crochet (hdc): a slightly taller stitch used for the hand section.
- Back loop only (BLO): working into just the back loop of each stitch, which creates the ribbed look on the cuff.
- Half double crochet two together (hdc2tog): a decrease that joins two stitches into one, used when shaping around the thumb hole.
How the Wrist Warmers Come Together
The notes below paraphrase the steps shown in the video so you know what to expect. For exact stitch placement, follow along with the creator.
The Ribbed Cuff
The cuff begins with a slip knot and a chain of 10, which you can change for a larger or smaller cuff. Row 1 is a single crochet in each chain, starting in the second chain from the hook. Every row after that begins with chain 1, then you turn and work one single crochet in the back loop only of each stitch.
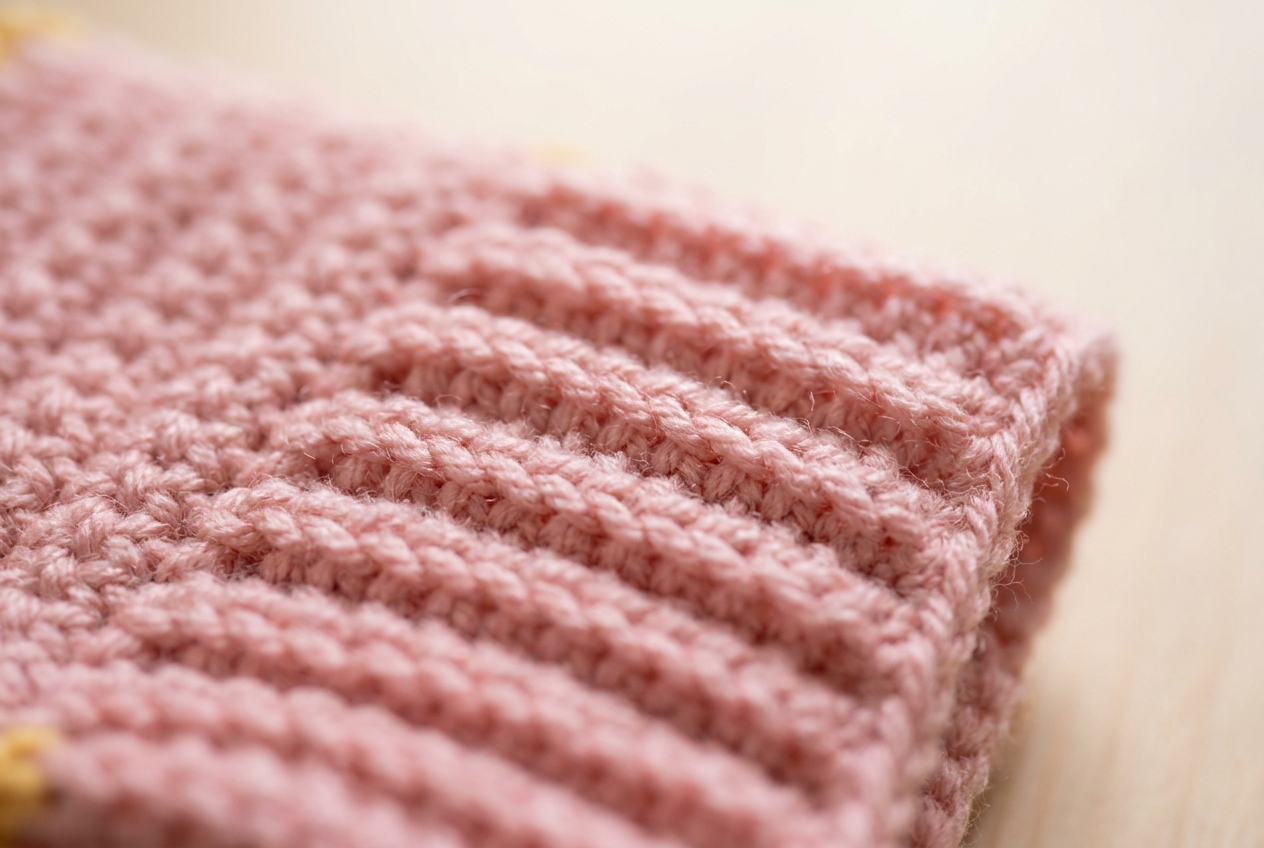
Keep going until the cuff fits comfortably around your wrist. In the video the creator worked 24 rows.
Joining the Cuff Into a Loop
Fold the cuff so the first and last rows line up. Slip stitch the edges together through the back loops of the last row and the beginning chains. This closes the cuff into a loop.
The Hand Section
Along the top edge of the cuff, work single crochet stitches evenly, roughly one stitch per row. The creator ended up with 24 stitches, then joined with a slip stitch. From here the work continues in joined rounds of half double crochet:
- Three plain rounds of hdc, one stitch in each stitch around.
- One increase round: hdc in each of the first three stitches, then two hdc in the fourth stitch, repeating around.
- Two more plain rounds of hdc.
The stitch count after the increase round is not stated in the notes I worked from, so check the video or its description if you want an exact number.
The Thumb Hole and Shaping
This is the part to watch closely. The creator chains 6, skips 5 stitches, and works a half double crochet in the sixth stitch. The rest of the round continues with groups of three half double crochets followed by an hdc2tog decrease, then the round is joined.
Finishing the Top
On the next round you work 6 half double crochets around the chain space made for the thumb hole. Then continue in rounds of hdc until you have three rows above the chain space in total. To flatten the top edge, slip stitch into the next three stitches, chain 1, cut the yarn, and weave in the ends.
Optional Border and Appliques
A contrasting border in single crochet can be added along the top edge. Appliques (star, heart, or bow) are sewn onto the surface with a tapestry needle.
Beginner Tips From the Video
The creator shares two helpful reminders:
- Do not skip the last stitch of each cuff row. Missing it makes the cuff slowly get narrower as you go.
- Work under both loops in the hand section. The back-loop-only technique is for the ribbed cuff. Once you move on to the body, stitch through the whole stitch.
A few general suggestions that are not from the video: wrap the cuff around your wrist before you join it to check the fit, and consider using a stitch marker to mark the start of each round (optional and not listed in the video’s materials).
Watch the Original Video Tutorial
These timestamps may help you jump around:
- 00:31 – Slip knot and starting the cuff chain
- 02:00 – Row 1 of single crochet into the chain
- 03:33 – Back-loop-only rows for the cuff
- 06:08 – Joining the cuff edges with a slip stitch
- 07:36 – Starting the hand section and half double crochet rounds
- 12:31 – Making the thumb hole and the decrease round
- 14:30 – Continuous rounds over the thumb hole and finishing the top edge
- 17:22 – Optional contrasting border and sewing on appliques
The creator mentions that a written pattern is available in the video description. I have not confirmed whether it is free or paid, so check the description for details.
Frequently Asked Questions
Are these wrist warmers beginner friendly?
The video is presented as beginner friendly, and the project uses only chains, slip stitches, single crochet, and half double crochet, plus one decrease. The thumb hole section is the most involved part, so take your time there.
What hook and yarn do I need?
The video uses a 5 mm hook and worsted weight (4) acrylic yarn. Yardage is not specified.
Is there a free written pattern?
A written pattern is mentioned in the video description, but its availability and price are not confirmed here. The video tutorial itself is free to watch on YouTube.
Can I wear them on either hand?
Yes. According to the notes, the wrist warmers are not right- or left-hand specific.
How do I make them bigger or smaller?
Size is adjusted through the starting chain (10 in the video) and the number of cuff rows (24 in the video). The video does not give finished dimensions, so test the cuff against your wrist before joining it.
Do I have to add appliques?
No, they are optional. The creator shows a star, heart, and bow, plus an optional contrasting border, but the wrist warmers are complete without them.
Final Thoughts
Because the cuff and hand section are made separately and then combined, this project breaks down into small, manageable parts. Work the cuff until it fits, check your stitch count when you start the hand section, and slow down for the thumb hole. After that you can pick your colors and decide how much decoration to add.